16
May
DIY: How to Make an Epoxy Flake Floor Repair
Durable flake floors can still be damaged. Learn to DIY repairs, from minor chips to larger peels, to protect your investment and keep your floor looking its best.Materials to Repair an Epoxy Flake Chip:
- Poly 90 Low Odor-Polyaspartic Coating
- High-grit sandpaper
- Paintbrush
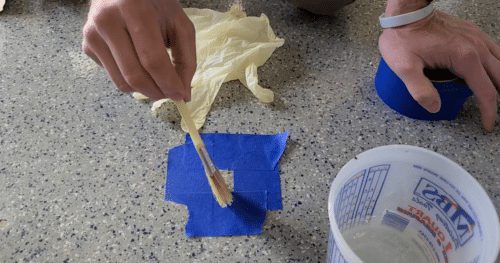
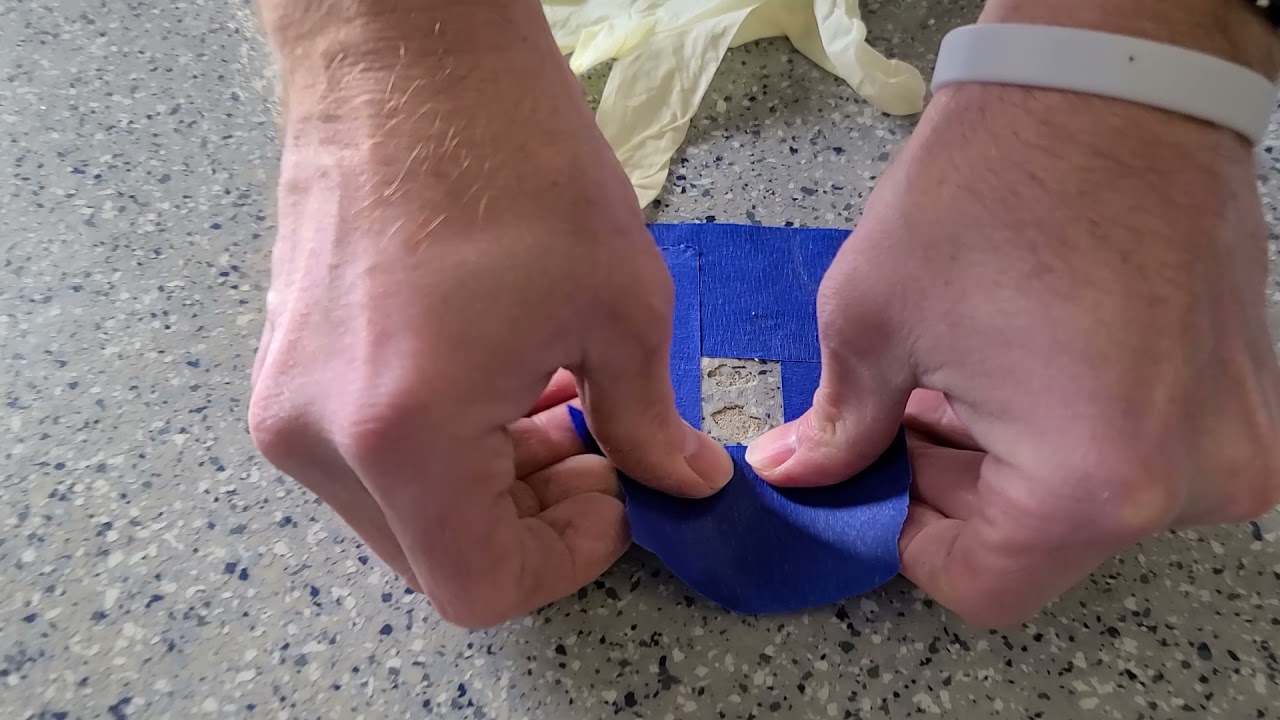
- Painter’s tape
- Disposable gloves
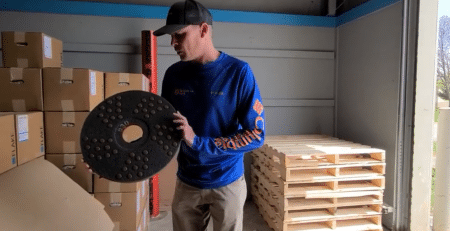
- Matching epoxy flakes
1. Surface Preparation
Proper surface preparation is crucial for a strong bond.-
Clean Thoroughly: Clean the affected area with a strong degreaser to remove all dirt, grease, and contaminants. Rinse thoroughly and allow it to dry completely.
-
Sand for Adhesion: Lightly sand the damaged area and a few inches surrounding it with medium-grit sandpaper (80-120 grit). This creates a "key" to which the new epoxy can adhere. Feather the edges of the existing coating to ensure a smooth blend.
-
Remove Dust: Use a vacuum with a fine filter to remove all sanding dust and debris, or wipe the area with a tack cloth for a pristine surface. Avoid using water.
2. Polyaspartic Coating Application
-
Mix Precisely: Carefully measure and mix the polyaspartic coating according to the manufacturer's instructions. We recommend Poly 90. Incorrect ratios can lead to curing problems. Mix thoroughly for the specified time.
-
Apply Evenly: Using a brush, roller, or squeegee, apply a thin, even layer of the mixed polyaspartic coating to the prepared area. Overlap the sound coating slightly for a strong bond.
3. Flake Application
-
Broadcast Immediately: Generously sprinkle the matching epoxy flakes onto the wet surface after applying the polyaspartic coating. Lightly press them in for proper adhesion. Aim for a slightly heavier distribution than the surrounding area.
-
Remove Excess: Once the polyaspartic coating has partially cured, gently sweep or vacuum away any loose, unbonded flakes. Also, remove any tape that was used.

4. Finishing Touches
- Sand down the area to match the floor surrounding it.
-
Second Coat: Apply a second thin layer of clear epoxy for deeper repairs or a smoother finish.
-
Cure Properly: Allow the repaired area to cure entirely according to the manufacturer's instructions.
-
Clear Top Coat (recommended): A clear top coat over the repaired area (or the entire floor) will provide extra protection and help the repair blend in better.
Important Considerations for a Flawless Finish:
-
Ventilation: Work in a well-ventilated area to minimize exposure to epoxy fumes. Use fans to circulate air.
-
Safety First: Wear appropriate PPE, gloves, eye protection, and a respirator.
-
Color Matching: Obtain flakes that closely match the floor color.
-
Professional Help: Consult a professional for extensive damage or complex repairs.
Preventative Maintenance: Keeping Your Floor Looking Its Best
- Regularly sweep and mop the floor with mild, pH-neutral cleaners.
- Avoid dragging heavy objects across the floor.
- Place protective mats in high-traffic areas.
- Promptly clean up spills.