How to Apply Solid Color Epoxy
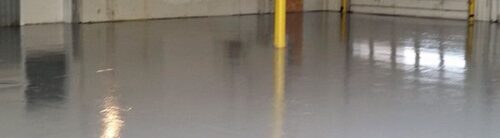
Transform your space with our One Day Color Epoxy System. This pigmented, 100% solids epoxy system is self-leveling and provides a smooth finish to the floor.
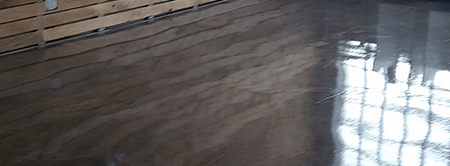
Solid-color epoxy flooring isn't just paint; it's a high-performance system that bonds directly to your concrete substrate. It's a two-part system consisting of an epoxy resin and a hardener, which creates a chemical reaction when mixed, producing a tough, protective layer. Added pigments provide a wide range of colors.
Where Can You Use Solid Color Epoxy?
The versatility of solid-color epoxy makes it suitable for a wide range of applications:
- Industrial: Warehouses, manufacturing plants, and distribution centers benefit from epoxy's strength and chemical resistance.
- Commercial: Retail stores, showrooms, and offices can create a polished and professional look with epoxy flooring.
- Residential: Garages, basements, and even patios can be transformed into beautiful and durable spaces with the use of epoxy.
- Specialized Spaces: From cleanrooms to laboratories, epoxy's hygienic and easy-to-clean properties make it ideal for specialized environments.
The Steps to Applying Solid Color Epoxy to a Floor
1. Prep: The Foundation for a Successful Epoxy Floor
- Preferred Method: Diamond Grinding: This is the recommended method for achieving the optimal surface profile for epoxy adhesion.
- Repairs: Address any cracks, spalls, or other imperfections in the concrete surface before applying the epoxy.
- Thorough Drying: Before proceeding, ensure the concrete is dry. Moisture can negatively impact the epoxy's adhesion and cure. Using water during prep is not recommended.
2. Mixing the Epoxy
- Carefully mix the two-part Epoxy Flow 100 according to the manufacturer's instructions.
- Add your chosen colored epoxy pigment additive to the Epoxy Flow 100 base.
- Pay close attention to the pot life of the mixed epoxy, as this will determine the working time available.
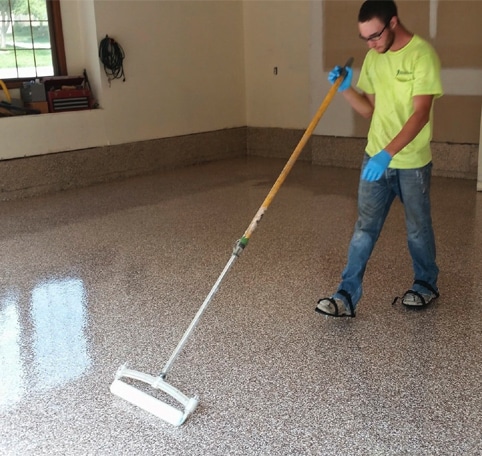
3. Applying the Base Coat:
- (Optional: Primer) While optional, applying Concrete Floor Supply's "Moisture Mitigator" primer is highly recommended. It enhances adhesion, minimizes outgassing in subsequent coats, and helps prevent moisture vapor transmission issues that can lead to coating failures.
- Apply the mixed Epoxy Flow 100 (with pigment) as a base coat.
- Pour the epoxy on the floor. Epoxy likes to hang out on the floor. If left to dwell in the bucket it will set very fast.
- Distribute the epoxy evenly using a squeegee. (18" serrated is most popular)
- Use 3/8" nap, 18" roller cover to backroll the product after using a squeegee to spread.
4. Applying the Second Coat Topcoat:
- The topcoat over the epoxy would be the Poly 90 or Poly 85 Slow. This is a polyaspartic product with great wear characteristics and UV stability.
- Poly 90 and 85 Slow are both a 1:1 mix. Drill mix for 3 minutes.
- Add "Poly pigment" to make it a solid color and mix until consistent
- Poly hangs out in the bucket and should not be put on the floor until you are ready to squeegee and backroll
- Use a flat squeegee, backroll with 3/8" nap, 18" roller
5. Curing:
- As the manufacturer specifies, allow the coating to cure for the recommended time (typically 24-48 hours). During this time, avoid foot traffic and other disturbances. Refer to data sheets for set times.
Important Considerations
- Temperature/humidity matters.
- Wear safety gear.
- Test the patch first.
- Consider professional help if needed.
Maintaining Your Investment:
Keeping your coated concrete floors looking their best is easy! Regular sweeping and mopping are usually sufficient. For tougher stains, use a mild detergent and water. Avoid harsh chemicals and abrasives.
With their exceptional durability and stunning finish, solid-color epoxy floors offer a low-maintenance solution that's easy to clean and resistant to damage. Thus, you can spend less time on upkeep and more time enjoying your beautiful, functional space. If you're looking for a practical and stylish flooring option, epoxy is the answer.