
19
Dec
Transforming your dull concrete into a showroom-quality masterpiece doesn’t require you to be a brain surgeon—it just requires the right chemistry. As industry experts, we know that high-performance flooring can feel intimidating, but we have designed our Epoxy Poly Flake Coating System to bridge the gap between industrial durability and DIY simplicity.
We’ve removed the guesswork by bundling our professional-grade Epoxy Flow 100 base coat and our ultra-durable Poly 90 (or 85 Slow) top coat into one comprehensive prepackaged kit. This isn't hardware store paint; this is a heavy-duty, multi-layered armor designed to hide imperfections and withstand years of abuse. While the results look complex, the process is surprisingly straightforward: prep the concrete, roll the base, broadcast the flake to rejection, and seal it up.
Don't settle for bare, stained concrete when a stunning, resilient surface is within your reach. With our kit, you have the exact materials the pros use, simplified for your success. Let’s walk through how easy it is to upgrade your space.
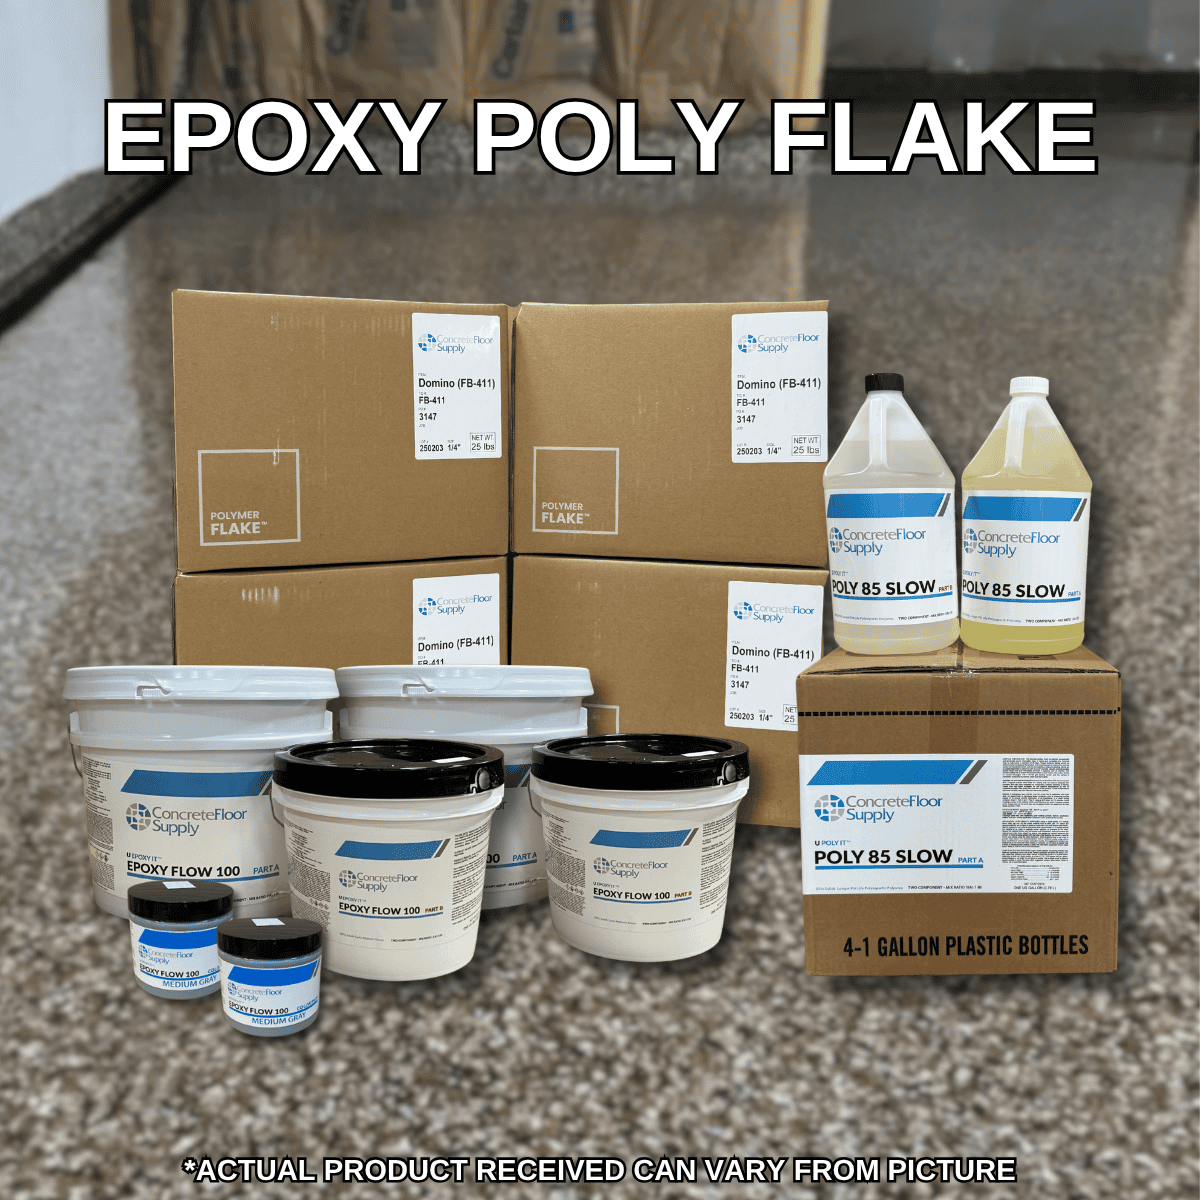
Epoxy Poly Flake Coating System
Below are the 4 basic steps for this system.
1. PREP:
One of the key components is to ensure that the surface is free from sealers, dirt, oils, glues, and other contaminants. It also needs a profile. i. Do all repairs before grinding so repairs are ground flush with the floor. We recommend our Instant Medic Hard for all repairs for this coating system. ii. Methods for properly preparing the concrete are: 1. Using a lower grit (16, 30) metal bond diamond tool on a single headed or planetary grinder with a vacuum and grinding dry a. Vacuum floor clean. Remove any other residual dust by leaf blowing and/or microfiber wiping. Do not use water b. You are going for a floor with a light broom finish like profile that is completely profiled, bone dry, and free of contaminants

2. Apply Epoxy Flow 100 (reg or slow):
Mix Epoxy Flow 100 by drill mixing. Mix in the proper amount of epoxy color pigment (1 pigment/3 gallons of Epoxy Flow 100). Apply Epoxy Flow 100 to the floor by pouring the Epoxy on the floor and using a notched squeegee to spread the product and immediately backroll with an 18” , ⅜” nap roller cover. .(Epoxy Flow 100 hangs out better on the floor than in the bucket. Don't let dwell in the bucket as this will expedite the set time) Coverage rates are approximately 100-150 sq ft per gallon. Once applied to the floor there is up to a 15-45 minute work time to roll it out depending on version and another 30 minutes or more to broadcast chips to the area(Slow version will give longer times. All times are greatly effected by temperature). Refer to data sheet for more information.

3. Broadcast Flake:
Immediately after the Epoxy Flow 100 is applied to the floor the flakes need to be broadcast. Broadcast epoxy flakes to rejection by walking on the floor in spike shoes before the Epoxy Flow 100 begins to set. Multiple broadcast work best opposed to one saturation coat. No shiny spots that show the base coat should be seen when done(check the floor about an hour later to make sure no flakes “sank” into the epoxy revealing shiny spots. Rebroadcast as needed). Note: If you multiply the sqft of the floor times .1 you will get the pounds of flake needed for full broadcast. I.E 800sqft x .1 = 80 pounds of flake. (this is an approximate minimum amount of flakes needed)

4. Top Coat - Poly 90 or 85 Slow Clear:
After the base coat with flakes has sufficiently set and is no longer tack
free (refer to data sheet for dry times) Note; this is greatly affected by temperature) scrap the floor by using a straight edge or use a sand screen to knock down jagged flakes. Vacuum and blow the floor clean. Apply a clear top coat of Poly 90 or 85 Slow by pouring a bead of Poly on the floor and using a flat squeegee to spread the product. Immediately backroll with an 18”, ⅜” nap roller (coverage is approximately 175 sqft/gallon). Spike shoes are necessary to walk through the floor when using a squeegee. Be sure and get 100 percent coverage when squeeging or dry spots can occur. a. Add traction additive if desired. b. Protect area from traffic until the coating has sufficiently dried (refer to tech data for dry times)

Please Read: We do not sell the 'finished floor'. You are responsible for creating the finished product. Please contact us with any questions. Mock ups are encouraged before doing your project. The information supplied by Concrete Floor Supply about our products and uses is not a representation or a warranty. It is supplied on the condition that you will make your own tests to determine the suitability of the product for your own particular purpose. Any use or application is the sole responsibility of the user. Listed physical properties are typical and should not be construed as specifications.

